 By Charles Goodrich/photos by the author
The O scale community is not blessed with a large variety of highway trailers that can be used for TOFC or loading dock service, especially for the transition era. The few that are available include the excellent pup trailers produced by Lionel and the out-of-production Berkshire Valley and Weaver 35’ trailers. Lionel has released an excellent 40’ trailer that is appropriate for late 1950s through the 1960s. This trailer can be shortened to 35’ which would make it suitable for late 1940s through the late 1950s. Shortening this trailer is the subject of this article.
Start with a two-pack of the Lionel 40’ trailers. After removing the trailers from the package, it was determined that the easiest way to go about shortening the trailer was to remove 5’ from the rear of the body and 5’ from the front of the floor assembly. The floor is gently pried away from the sides. After removing it, set the floor aside for later modification. Next, the back door is removed.
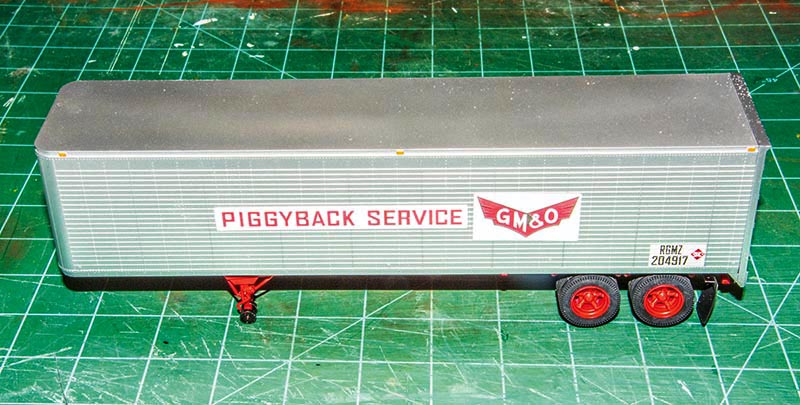
A cutting mark is made just forward of the fifth row of rivets from the back (about 5’ from the end). Using a hobby knife (I used a Wonder Cutter), the rear portion of the trailer is removed. Remove the small triangular gussets at the lower end of the cut off portion and put them in a safe place. Discard the box portion that was removed. The cut area is sanded smooth using 80 grit sandpaper on a flat surface. A circular motion is used to ensure that the sanding is even and the cut joint completely flat.
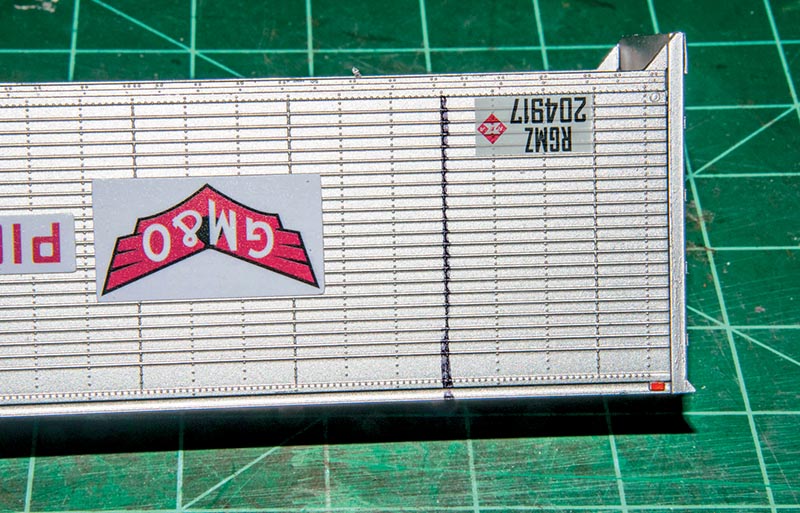
File the trailer end (with the doors) flat to remove all of the registration tabs. After both surfaces are completely smooth, the end can be glued to the trailer with solvent cement. Use care to keep the sides and top in alignment. Remove the running light at the old center of the trailer with an sharp chisel point blade hobby knife. Fashion new lights from 0.060” x 0.010” styrene. Pieces were cut 0.100” long and glued at the center and rear end on each side.
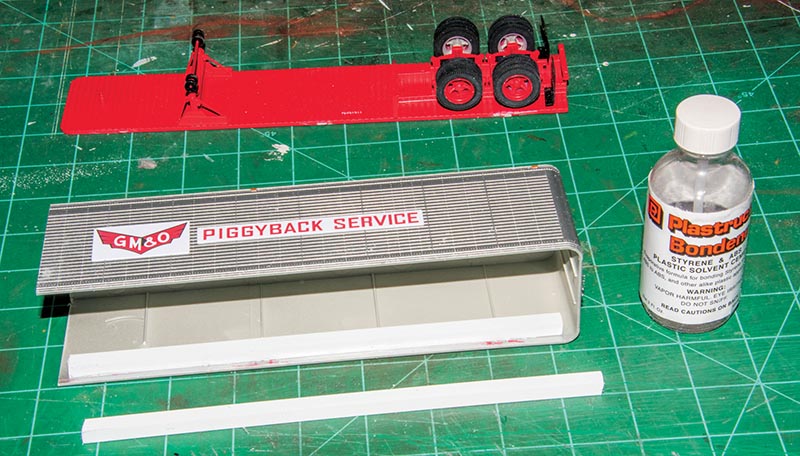
Glue the small triangular gussets removed at the cut off rear section to the bottom at the same location as they were removed from (at the bottom where the body joins the end).
Because the body and floor are shortened from opposite ends, the tabs that hold the floor in place no longer line up. To hold the floor in place, remove the reinforcement ribs for about 3/8” from the bottom of the inside and glue a piece of 1/4” square styrene at the level of the top of the floor. The location is lined up with the top of the previous holes for locking the floor to the body…


