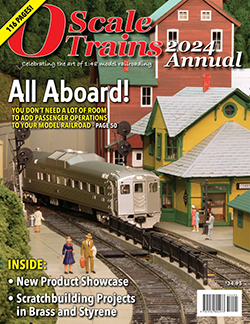
2024 ANNUAL: The debut issue of O Scale Trains Annual is an expanded 116-page edition celebrating the art of 1:48 model railroading! Inside you’ll find visits to beautiful home layouts, detailed how-to articles on ktibashing and scratchbuilding, a look back at vintage two-rail models, and a showcase of new products for your layout! Conley Wallace shares his techiniques for scratchbuilding a Virginian Railway caboose from brass sheet, while George Riley demonstrates methods to create realistic scenery and ground cover. Chris Lane shares scale drawings of Rio Grande 30′ narrow gauge refrigerator cars, while Bill Yancey shows the steps he followed to scratchbuild a modern all-door boxcar from styrene. All this and more in the 2024 O Scale Trains Annual!
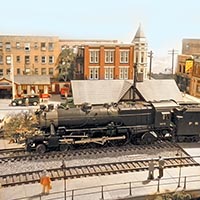
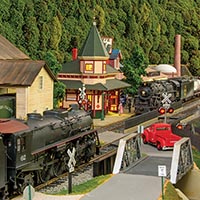
Return to the Cumberland Valley: PRR and N&W Southern Division
This detailed transition era O scale model railroad is inspired by Pennsylvania Railroad and Norfolk & Western routes between Roanoke, Va., and Hagerstown, Md.
Operations Notebook 1: Buckeye Through Freight
We follow through freight Train 401 as it works it away across the Buckeye Railroad from Monongahela Yard east of Pittsburgh to Gateway Yard in Youngstown, Ohio.
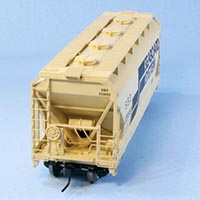
Atlas Two-Bay Centerflow Hopper in O Scale
The Atlas Two-Bay Centerflow covered hopper is a detailed rendition of a modern freight car that operates as good as it looks.

Carl’s Victorian House in O Scale
This 3D printed Victorian style house comes with a full interior that slips into an exterior shell, requiring only paint to complete the model.
Explore the world of White River Productions